
Categories
Scene from Vacation in Charcoal

On Unix-like systems, ports below 1024 are considered privileged, meaning that only the root user can bind to them. Web servers traditionally listen on port 80 for HTTP and port 443 for HTTPS. A key innovation of Podman is not running containers as root to enhance security. This presents challenges when containers need to use privileged ports like 80 or 443 for web server functions.
If you google solutions to this problem there are three common solutions suggested. First, run container as root. Second, use a proxy server like nginx or Caddy running outside a container, as root. Third, redefine where unprivileged ports start to be 80 or below.
Running containers as root to bind directly to privileged ports is the simplest approach but it significantly compromises security. Also, wasn’t getting away from containers require root one of the main reasons to move to podman?
Running a proxy server on the host without any container is what I did at first for docker and podman. It was a good transition from no containers to starting to run some services in containers. Still, that means more stuff that has to be be deployed separately from the containers. If you are going to use containers, it will be nicer to more fully embrace them.
Quite a few posts on various forums recommend redefining where unprivileged ports start to port 80. This means that you no longer need root to run a web server on port 80. It also means that hostile software or users no longer need root to serve on other privileged ports. For the purposes of this post I chose to believe that the people who decided that everything below 1024 is privileged knew what they were doing.
I have come up with a method I think is better for small deploys. Use the host’s or upstream’s firewall capabilities (with tools such as UFW, iptables, or nftables) to redirect traffic from privileged ports to non-privileged ones. This means minimal configuration change to the host OS (possibly none if you can do it with the upstream firewall), and you don’t give up running your containers without root. For now it seems like the best choice. What follows are partial examples for doing it with three firewalls likely to be included in your Linux system.
UFW example:
sudo ufw allow 80/tcp sudo ufw allow 443/tcp

sudo ufw route allow proto tcp from any to any port 8000 sudo ufw route allow proto tcp from any to any port 8443

sudo ufw enable
iptables example:
sudo iptables -t nat -A PREROUTING -p tcp --dport 80 -j REDIRECT --to-port 8000

sudo iptables -t nat -A PREROUTING -p tcp --dport 443 -j REDIRECT --to-port 8443
nftables example:
sudo vi /etc/nftables.conftable ip nat {
chain prerouting {
type nat hook prerouting priority 0; policy accept;
# Redirect HTTP (port 80) to port 8000
tcp dport 80 redirect to 8000
# Redirect HTTPS (port 443) to port 8443
tcp dport 443 redirect to 8443
}
}In 2021 I purchased the 27.5″ 48v 500w Ancheer branded ebike from Amazon \for $1200. I found a new listing from Ancheer for what looks like the same bike but now only $400. I thought it would be worth sharing my thoughts on the one I bought.
If you aren’t already used to expensive bikes, and you are interested in trying an ebike, this is probably a good choice for finding out if ebikes are for you. It may be that you find you don’t want an ebike, in which case you didn’t waste too much money and can sell it where ever you sell used things. It may be perfect for you. It may inform you that you really like ebikes, but you want a better one. When I paid much more for mine, I expected it to either tell me it wasn’t worth it or that I would want to spend more in the future.
I am a big guy who puts a lot more strain on bikes than most people would (per mile ridden of course). Thus, I wish mine had more torque and better brakes. However, I think for most people, the complaint will only be that the assistance levels don’t offer enough finesse. My bike doesn’t like to provide assistance below approximately 9mph, and that is too fast for writing with children or very slow adults.
In August I gave a quick talk on Gameboy development. Here it is below:
Optical media won’t last forever. I’ve already had a bunch of music CDs and GameCube games rot away on me and be lost. To guard against that, I am attempting to back up as much of my media as possible.
On the topic of ripping disc based media, Redump.org is great for providing reference hashs to let you know that your dump is accurate. They also provide directions, but they are mostly Windows focused. I’d rather use Linux when possible.
Ripping most DVD games is easy enough. A simple run of dd does the trick:dd if=/dev/sr0 of=backed_up_game.img & progress -mp $!
The & progress -mp $! is just a way to get a nicer display of progress from dd.
One thing that caused me trouble though is PS2 games that were shipped on CDs. I bought a few of the cheaper ones that I already had over again thinking maybe I had bad disks, but eventually I figured something out. I didn’t figure out how to use dd, even though it seems there should be able to make that work (and it does work for PS1 discs), but I did figure out that I could use cdrdao to back up CD based PS2 games.cdrdao read-cd --read-raw --datafile backed_up_game.bin cdimage.toc
The .toc file can then be deleted. I hope I don’t end up regretting that.
The next issue I ran into was a bad DVD disc. I bought a second copy of the game, but that DVD was also damaged. It was expensive enough that I didn’t want to try a 3rd copy, and I figured that the two copies were probably damaged in different areas, so smarted ripping should let me get a good single image from the two discs.
The tool I found for doing that is ddrescue. Compared to dd it does several things differently. First, for bad sectors, it will write 0s in the img file and make a note of that in the log for further attempts.
Second, it can be set to retry bad sectors.
I ended up using several runs of the program to do the job.
First, starting with the disc that produced the larger file originally with dd, I ran:
ddrescue --no-scrape --no-trim -p -v /dev/sr0 ./backed_up_game.img ./ddrescue.log
That did a best effort of only what worked correctly the first try.
I then did swapped disks and repeated that command. Sadly, this still didn’t quite there, so I followed it with:
ddrescue -p -v /dev/sr0 ./backed_up_game.img ./ddrescue.log
This tells it to ignore tells ddrescue to now work normally, AKA, retrying problem spots and marking off the boundary of them. Eventually it started going incredibly slowly, so rather than wait the estimated 2 days listening to the racket it was making, I swapped discs again and did:
ddrescue -M -R -p -v /dev/sr0 ./backed_up_game.img ./ddrescue.log
The addition of -M -R says to ignore the parts that were marked bad and this time try going backwards.
Finally after all those tries, I had a ./backed_up_game.img that’s sha1sum matched the reference value from redump.org.
At this point, I only have one game uncompleted. In that case, I haven’t received a second copy yet, but according to sources online there was a flawed pressing, and I have one of those discs, so no amount of re-tries would ever make this disc read entirely correctly.
I needed to power on and turn on a server that had been off for 8 years to check for some missing data. Of course, security standards have advanced (and that server probably wasn’t up to date when turned off), and SSH from Ubuntu 20.04 LTS would no longer connect to the old server.
Step 1: Diagnose
Turn on verbose mode.
ssh -v 192.168.0.100
That shows:
Unable to negotiate with 192.168.0.100 port 22: no matching key exchange method found. Their offer: gss-group1-sha1-toWM5Slw5Ew8Mqkay+al2g==,diffie-hellman-group-exchange-sha1,diffie-hellman-group1-sha1
Step 2: Solution
ssh -o KexAlgorithms=diffie-hellman-group-exchange-sha1 -v 192.168.0.100
I got my files, and now I’m documenting this in case it comes up again someday.
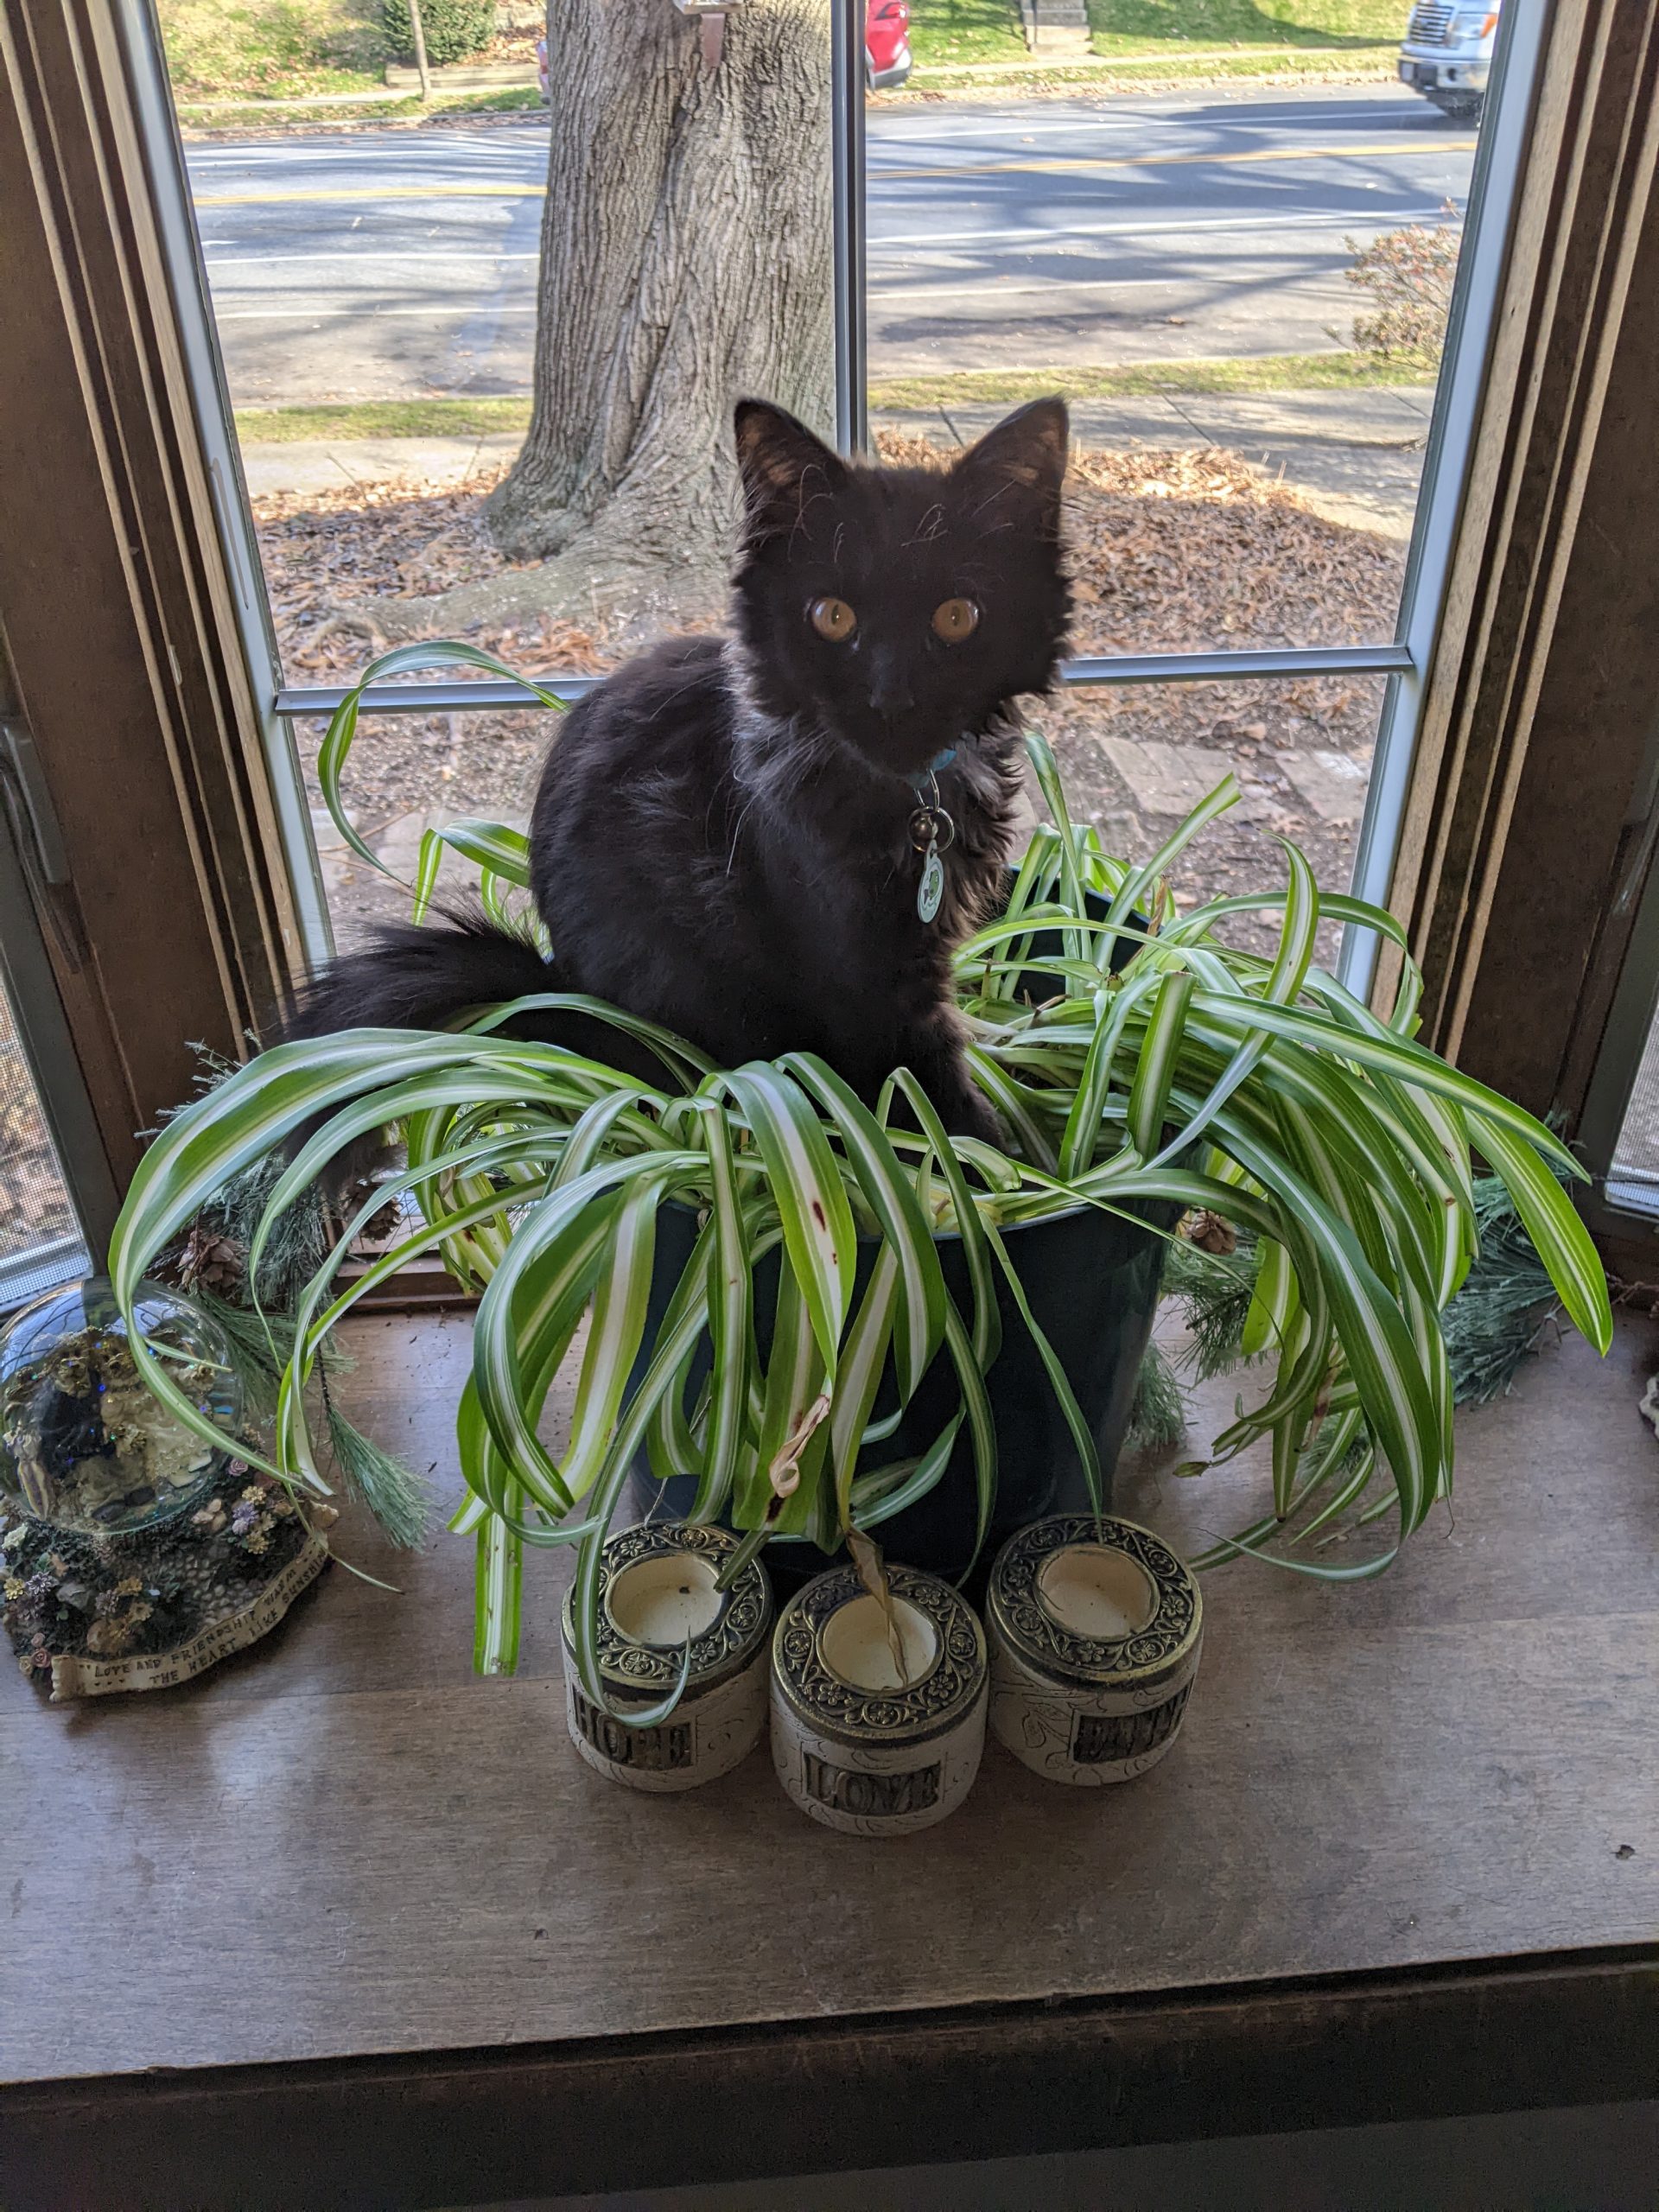
It has been about a year, time for an updated picture, but I couldn’t stop at one. Here is one serious and one goofy.
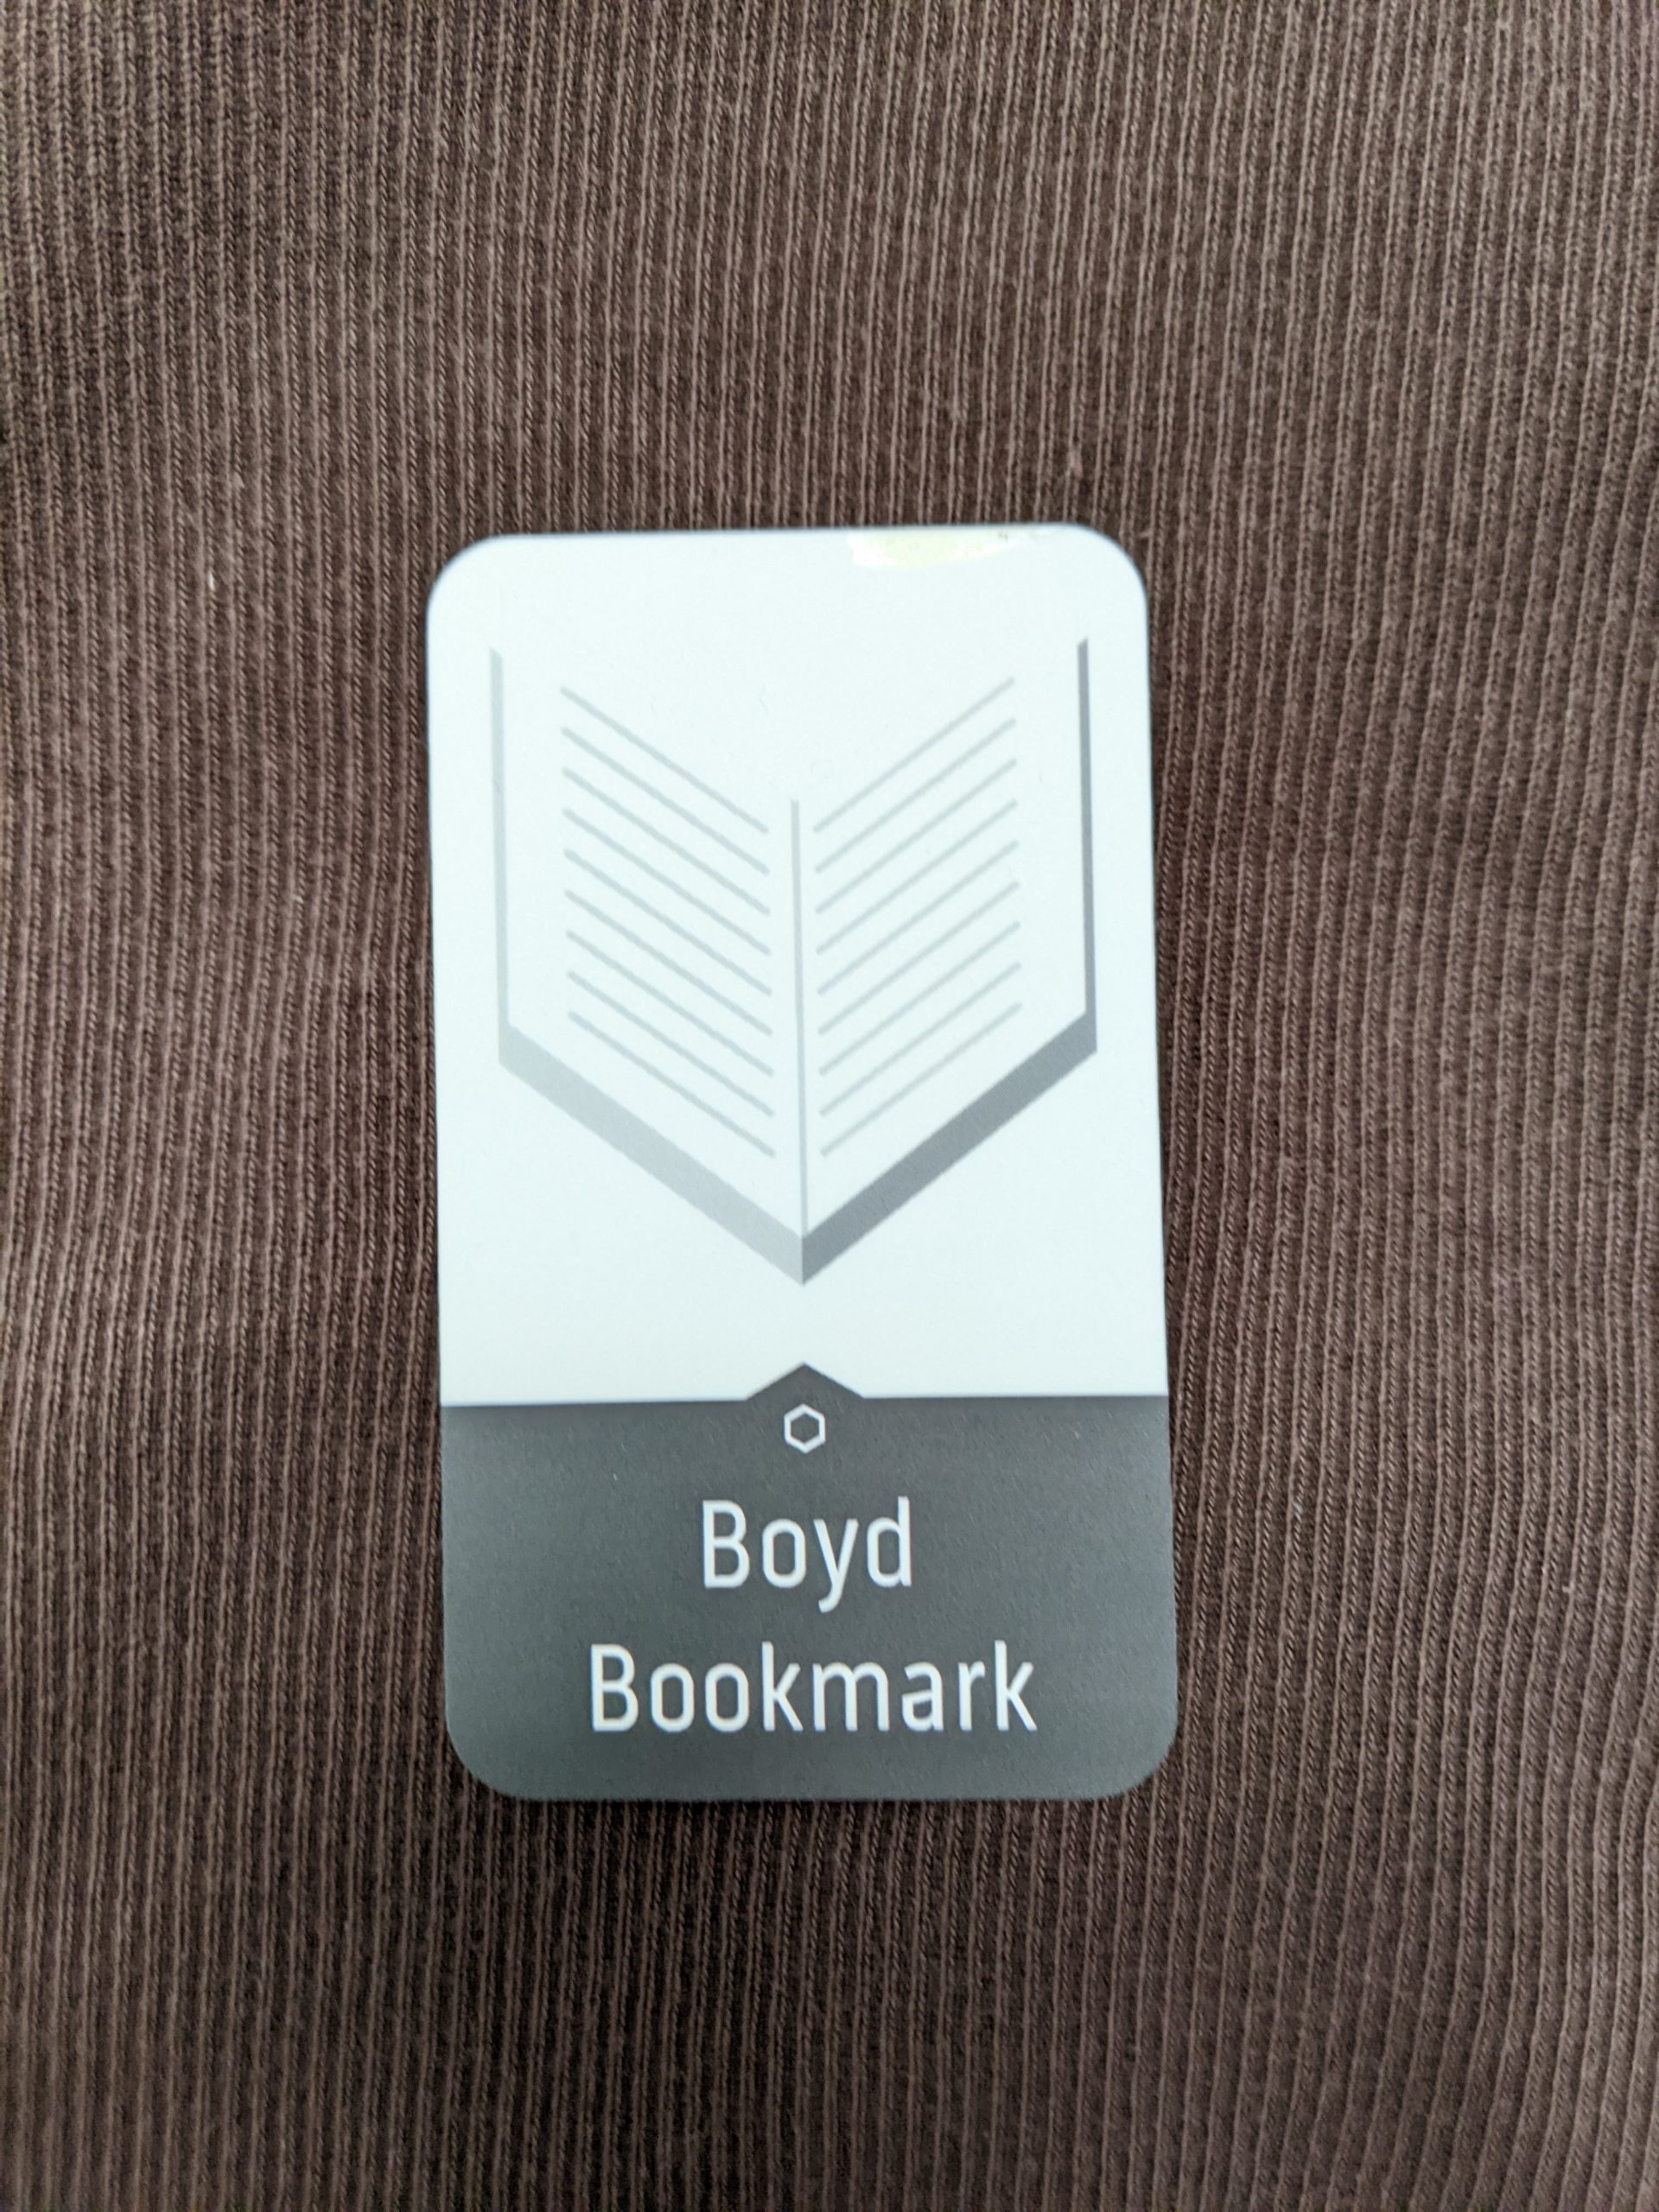
Old business cards make great bookmarks. But if you run out of old business cards, it hardly costs anything to custom print business cards specifically for use as bookmarks.
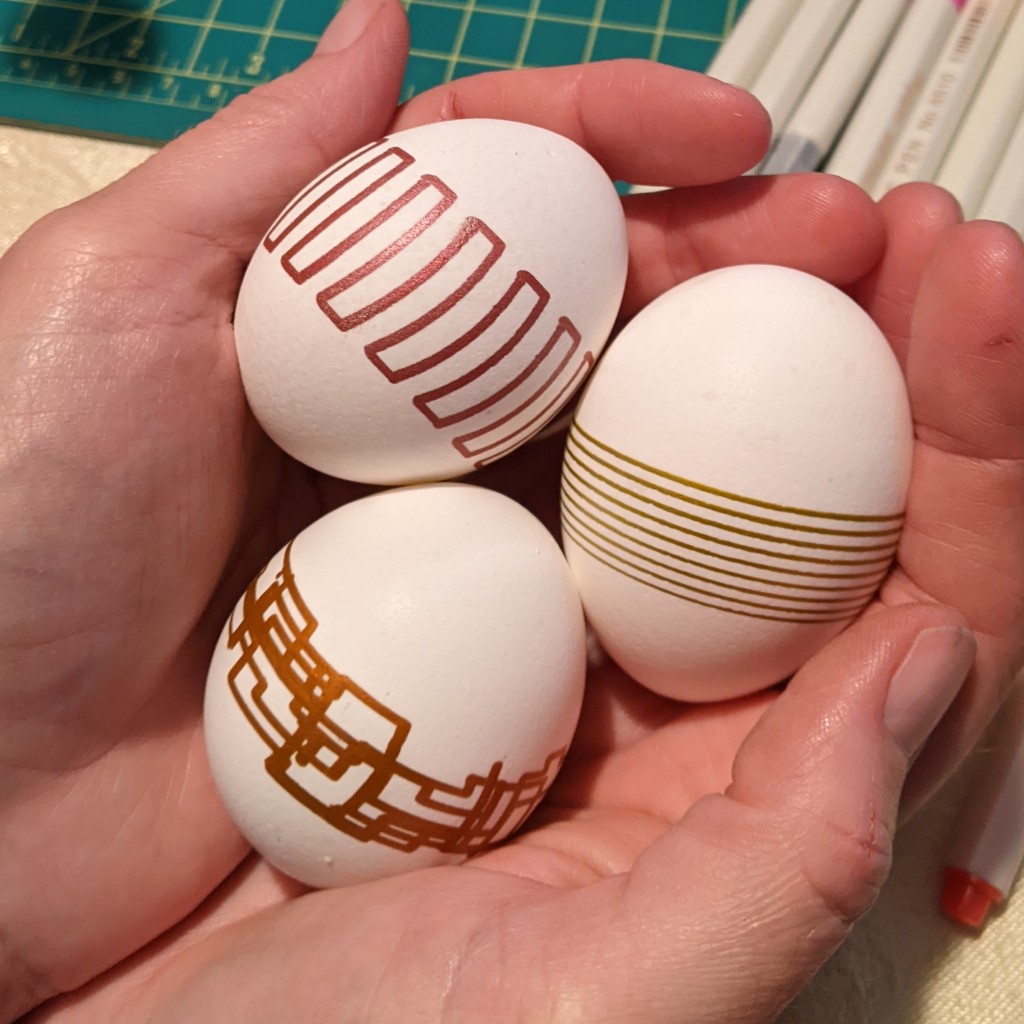
I started this project in 2017. My original goals were:
As you can see in the thumbnail, I gave up on the foam core, but I stuck it out on the no 3D printing or laser cutting, just to prove I could.
In 2017, I made a foam core frame (that I failed to take pictures of) that couldn’t really hold up to the pressure of holding and egg. Specifically the back pressure of the spring kept pushing the hot glued bearings off axis.
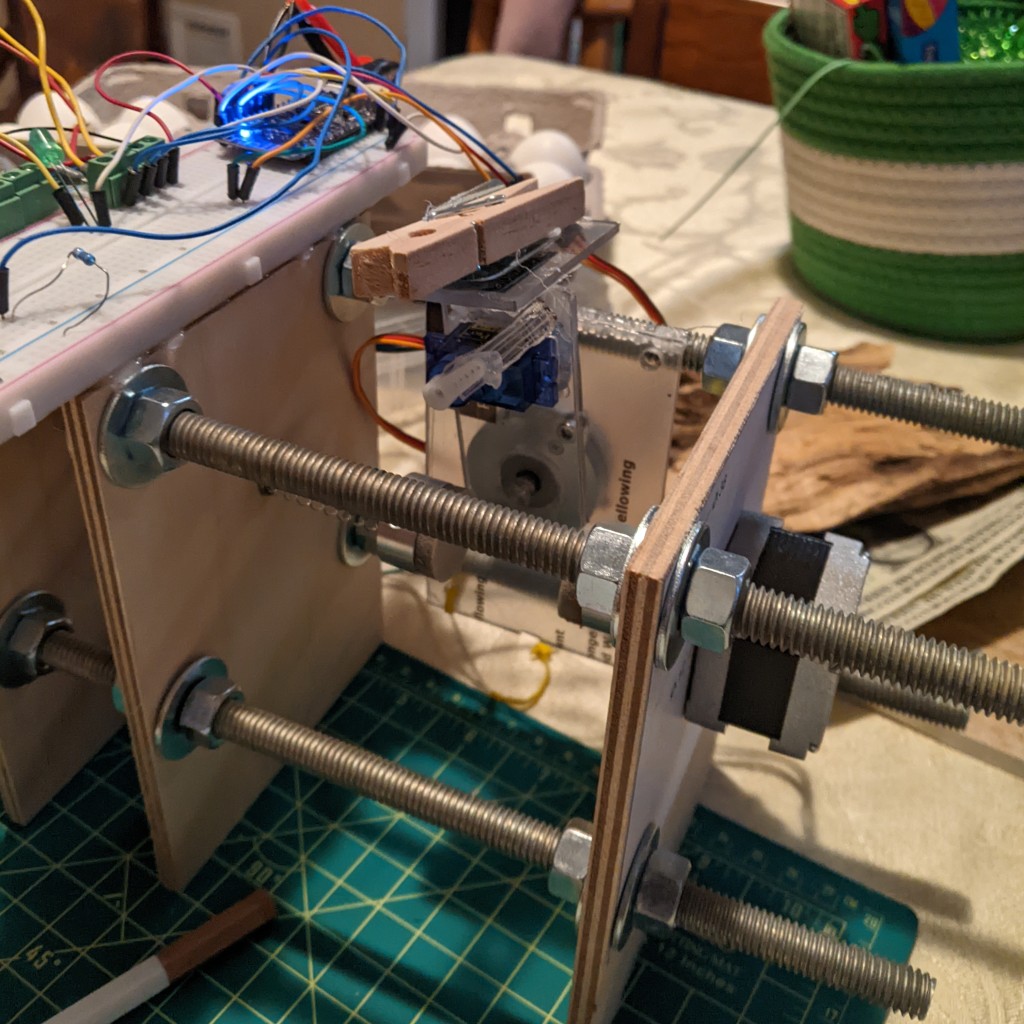
After solidly missing Easter of 2017, I decided to move to a wooden and threaded rod frame shown above. I started it in 2018 way to close to Easter to have a chance to have it done. After that, I tended to work on it a few hours a year in the few weeks before Easter. I had a hard time finding something to hold the egg nicely. Mostly I tried using suction cups and different wants of holding them. That is what I spent 2019, 2020, and 2021 working on (although, remember it was only a few hours each spring really).
For 2022, I was sick of not completing this and was determined to do whatever it took to get it done, and if I failed, I would abandon it. In the end, I cheated and ordered some aluminum with spongy material and grip tape pieces from a place selling parts for knock off egg bots. These worked nicely finally. I can’t believe it took so long.
Then it was a race to finish the electronics. I just used simple off the shelf stepper controllers and an ESP32 module. The ESP32 was programmed with the Arduino IDE. There was no G-Code interpreter or fancy control system. There were just different generative Arduino sketches to move the pen.
It turns out that the frame didn’t really allow the arm to move back and forth across the egg enough to let you do more than a fairly narrow stripe around the center. Oops. I’m still calling it done.
I have ideas for the future, but I don’t know if I will pursue them. I am certain that if I decide to try again, I will start over with a design someone else made as a starting point.
Really the only 2 ideas I am interested in trying out currently are:
Back on October 22, we were joined by Bob.
